Simple Steps, Smart Tools & Foolproof Tips for Home Bakers
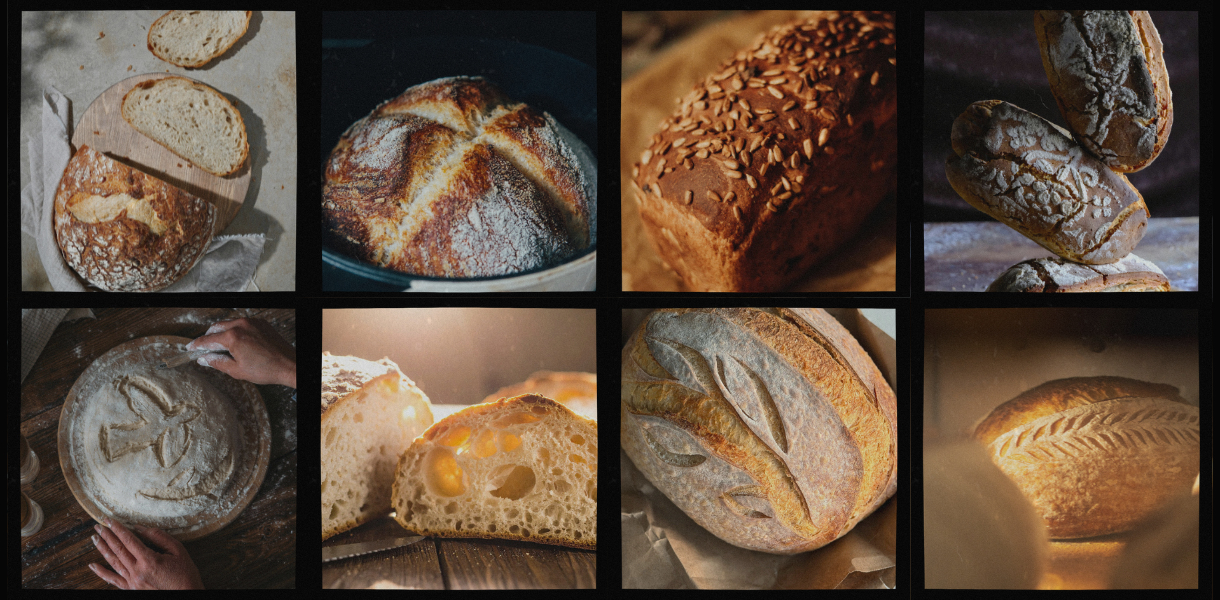
From the gentle rhythm of kneading dough to the smell of a loaf rising in the oven, breadmaking is one of life’s simplest kitchen pleasures.
If you’ve ever felt curious but slightly intimidated by the idea of baking bread from scratch, you’re not alone. The good news? Breadmaking doesn’t have to be complicated. With a few quality tools, basic ingredients, and some easy-to-follow guidance, anyone can bake delicious bread at home.
This beginner-friendly guide covers everything you need to get started with confidence, from essential equipment and simple techniques to helpful tips that make the process enjoyable and stress-free.
Why Bake Your Own Bread?
Making bread at home isn’t just rewarding, it’s practical, economical, and surprisingly relaxing.
Here’s why more people are falling in love with home baking:
- Better flavour & texture: Fresh bread simply tastes better.
- Fewer additives: You control exactly what goes into your loaf.
- Cost-effective: Homemade bread can save money over time.
- Creative freedom: Play with flavours, grains, seeds, and shapes.
- Mindful baking: Kneading dough is wonderfully calming.
Best of all, breadmaking builds kitchen confidence. Once you’ve baked your first successful loaf, there’s no turning back.
The Basic Ingredients You’ll Need
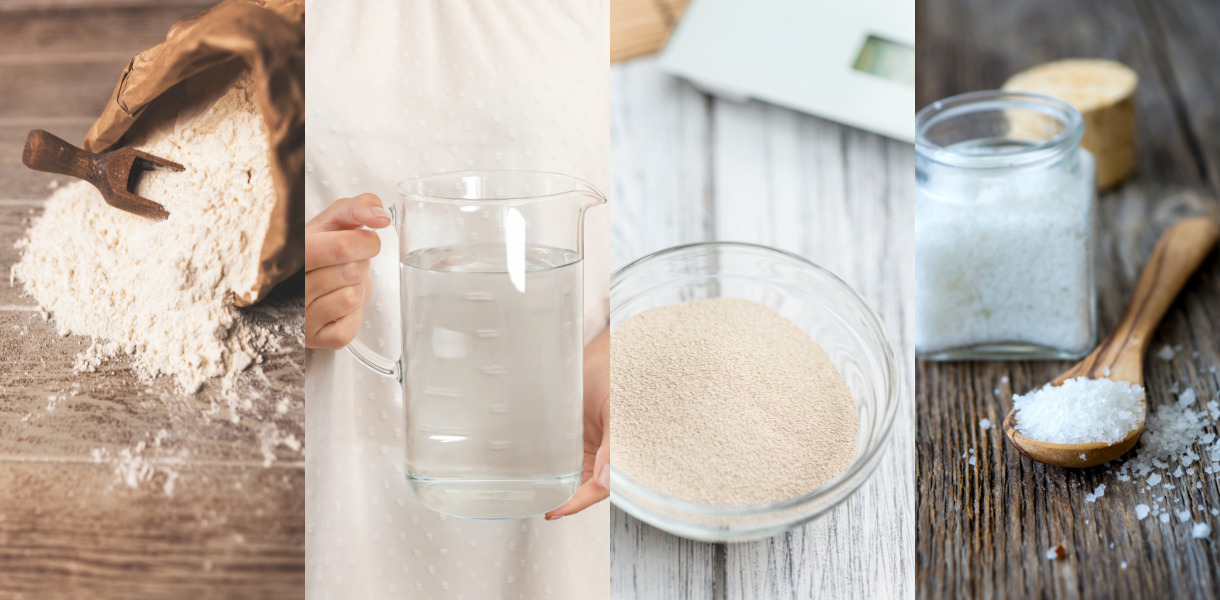
At its heart, bread is beautifully simple. Most recipes rely on just four core ingredients:
- Flour – provides structure
- Water – hydrates the dough and activates gluten
- Yeast – creates rise and flavour
- Salt – enhances taste and strengthens the dough
Once you’re comfortable with the basics, you can experiment with olive oil, honey, seeds, herbs, cheese, and whole grains to create your own signature loaves.
Essential Breadmaking Tools for Beginners
You don’t need a professional bakery setup to bake great bread at home. A few thoughtfully chosen tools make the process easier, cleaner, and more consistent.
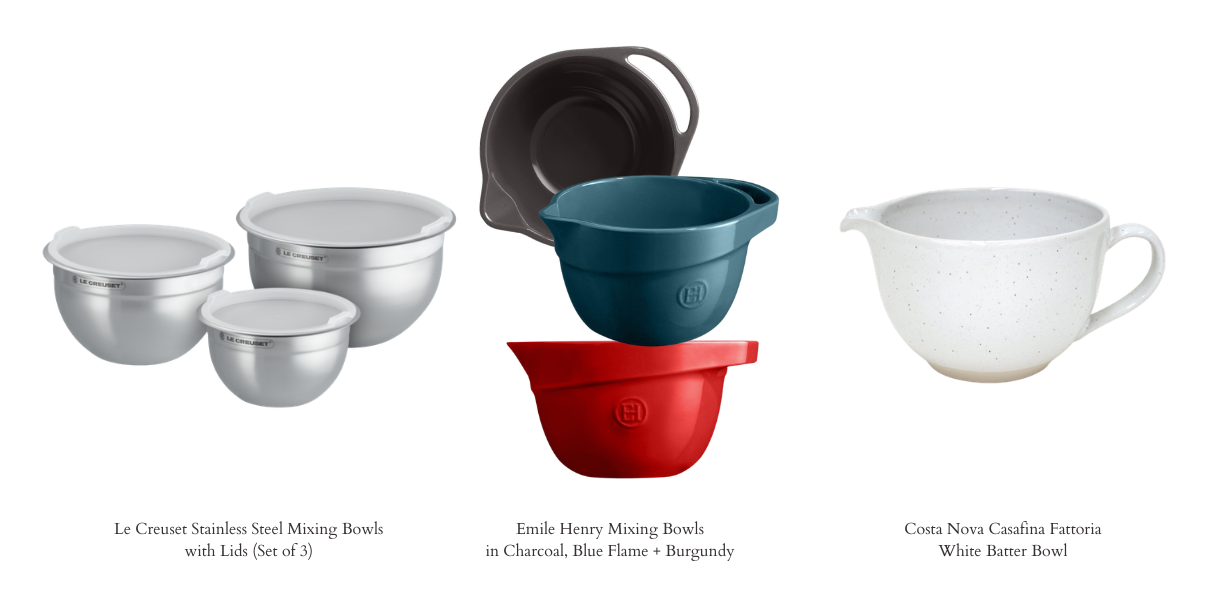
1. Mixing Bowls
Large, sturdy bowls give dough room to mix, rise, and develop.
Our Top Picks:
- Costa Nova Casafina Fattoria White Batter Bowl (2L)
- Emile Henry Mixing Bowl (2.5L, 3 Colours)
- Le Creuset Stainless Steel Mixing Bowls with Lids (Set of 3)
Shop all Mixing Bowls at Chef’s Complements.
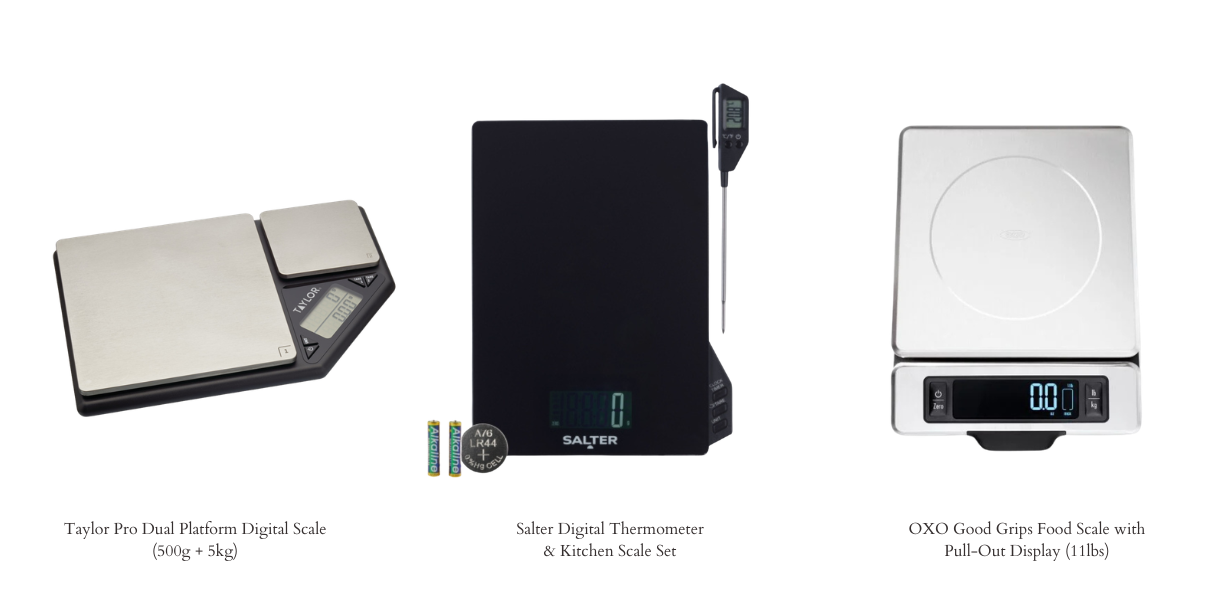
2. Digital Kitchen Scales
Precise measurements lead to reliable, repeatable results.
Our Top Picks:
- Taylor Pro Dual Platform Digital Scale (500g + 5kg)
- Salter Digital Thermometer & Kitchen Scale Set
- OXO Good Grips Food Scale with Pull-Out Display (11lbs)
Shop all Digital Scales at Chef’s Complements.
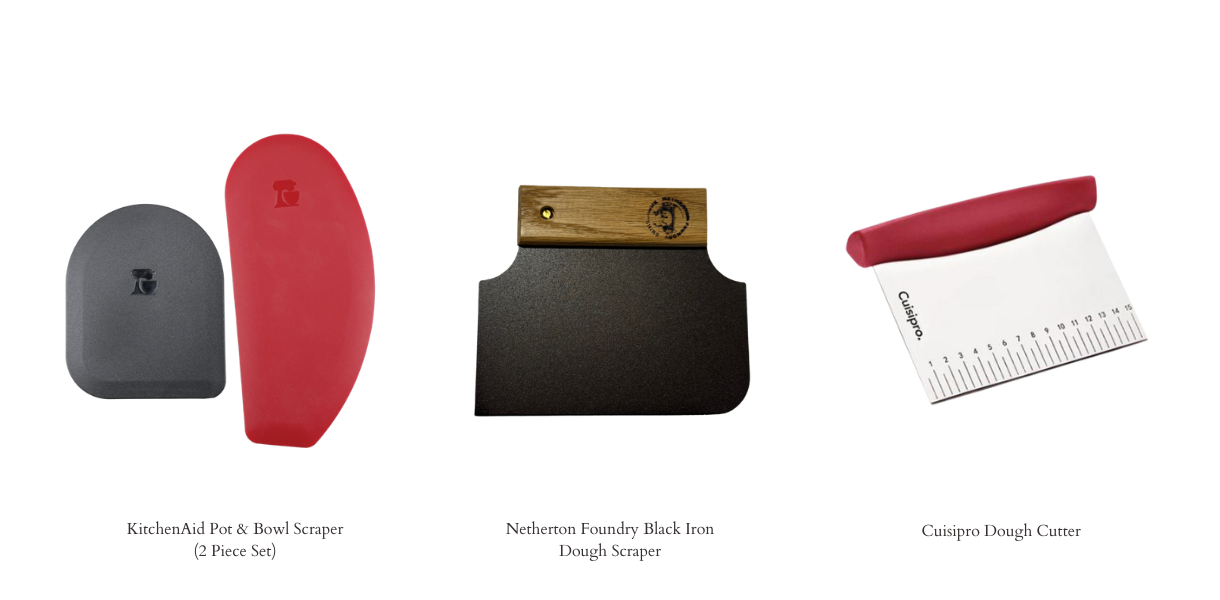
3. Dough Scraper
Great for handling sticky dough, shaping loaves, and keeping your bench clean.
Our Top Picks:
- KitchenAid Pot & Bowl Scraper (2 Piece Set)
- Netherton Foundry Black Iron Dough Scraper
- Cuisipro Dough Cutter
Shop all Baking Spatulas & Scrapers.
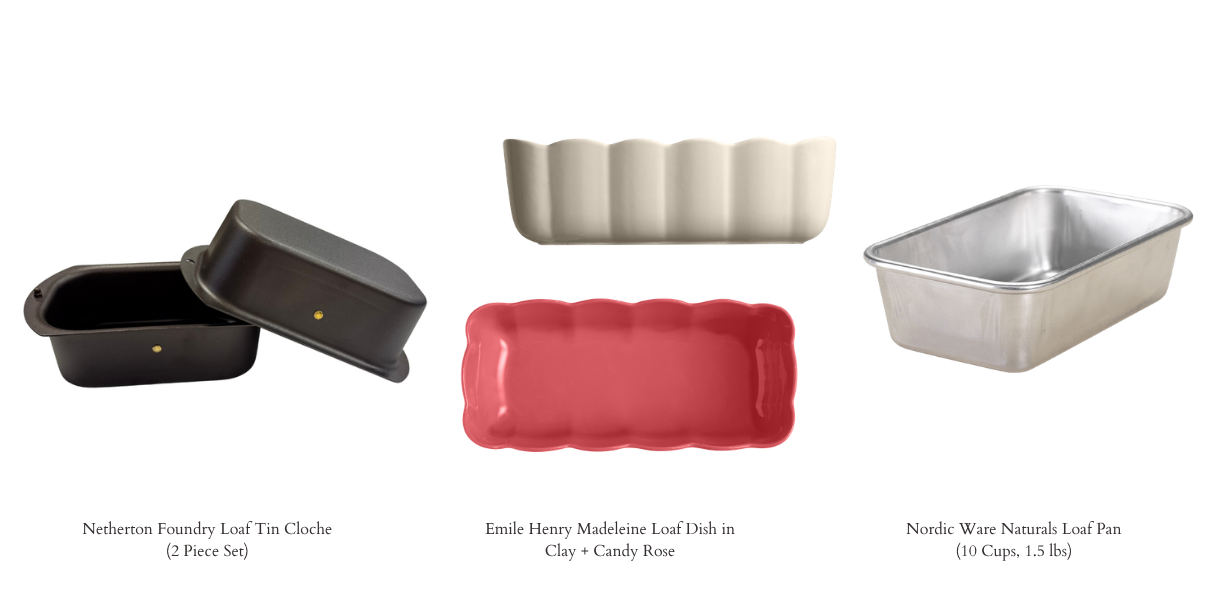
4. Bread Tins & Loaf Pans
Ideal for classic sandwich loaves and reliable shaping.
Our Top Picks:
- Netherton Foundry Loaf Tin Cloche (2-Piece Set)
- Emile Henry Madeleine Loaf Dish in Clay + Candy Rose
- Nordic Ware Naturals Loaf Pan (10 Cups, 1.5 lbs)
Shop all Loaf Tins.
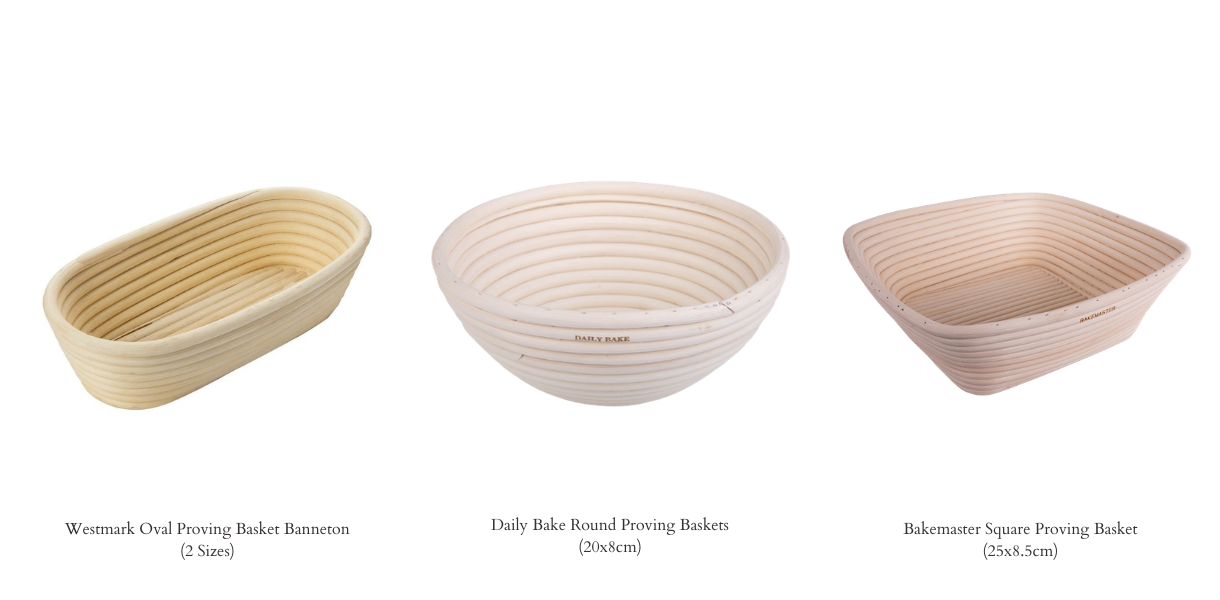
5. Bannetons or Proofing Baskets
Support dough during its final rise while creating beautiful patterns.
Our Top Picks:
- Westmark Oval Proving Basket Banneton (2 Sizes)
- Daily Bake Round Proving Baskets (20x8cm)
- Bakemaster Square Proving Basket (25×8.5cm)
Shop all Bannetons & Proving Baskets.
6. Bread Bakers & Dutch Ovens
Heavy baking vessels trap steam, helping produce bakery-style crust and rise.
Our Top Picks:
- Emile Henry Artisan Bread Baker (2 Colours)
- Le Creuset Signature Cast Iron Bread Oven (5 Colours)
- Ironclad The Old Dutch Oven (4.5L)

Shop all Bread Bakers & Moulds.
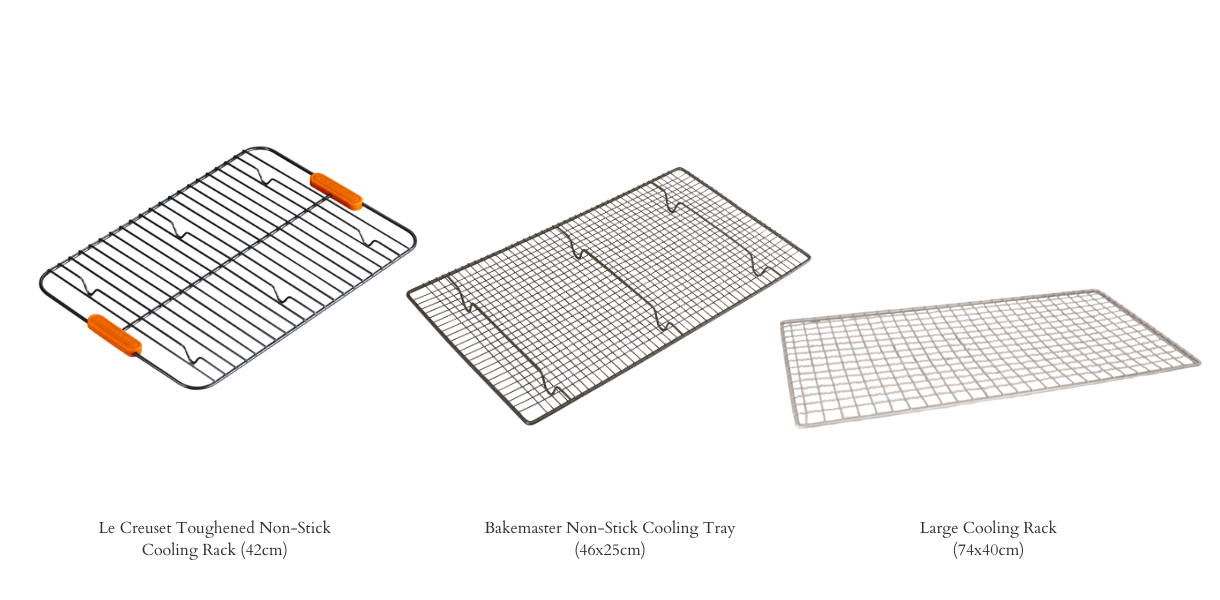
7. Cooling Racks
Allow air to circulate around hot bread, preventing soggy bases and overbaking.
Our Top Picks:
- Le Creuset Toughened Non-Stick Cooling Rack (42cm)
- Bakemaster Non-Stick Cooling Tray (46x25cm)
- Large Cooling Rack (74x40cm)
Shop all Cooling Racks.
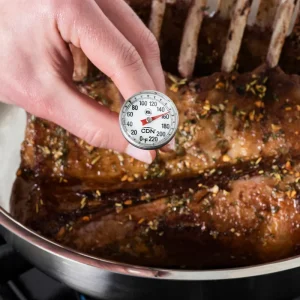
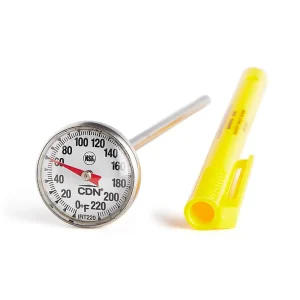
Extra Helpful Tools
While not essential, these tools make baking easier and more precise:

Understanding the Breadmaking Process
Once you understand the basic rhythm, breadmaking becomes far less intimidating.
Most recipes follow these simple steps:
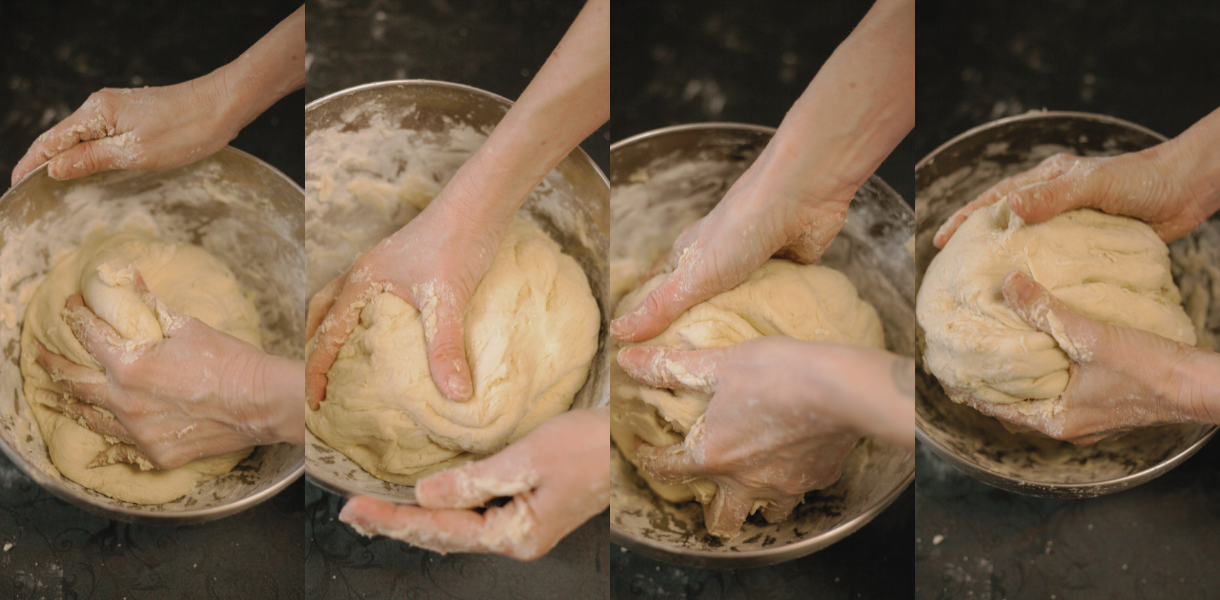
- Mixing – Combine ingredients into a rough dough.
- Kneading – Develop gluten for structure and elasticity.
- First Rise (Bulk Fermentation) – Flavour develops and dough expands.
- Shaping – Form dough into loaves or rounds.
- Second Rise (Proofing) – Final lift before baking.
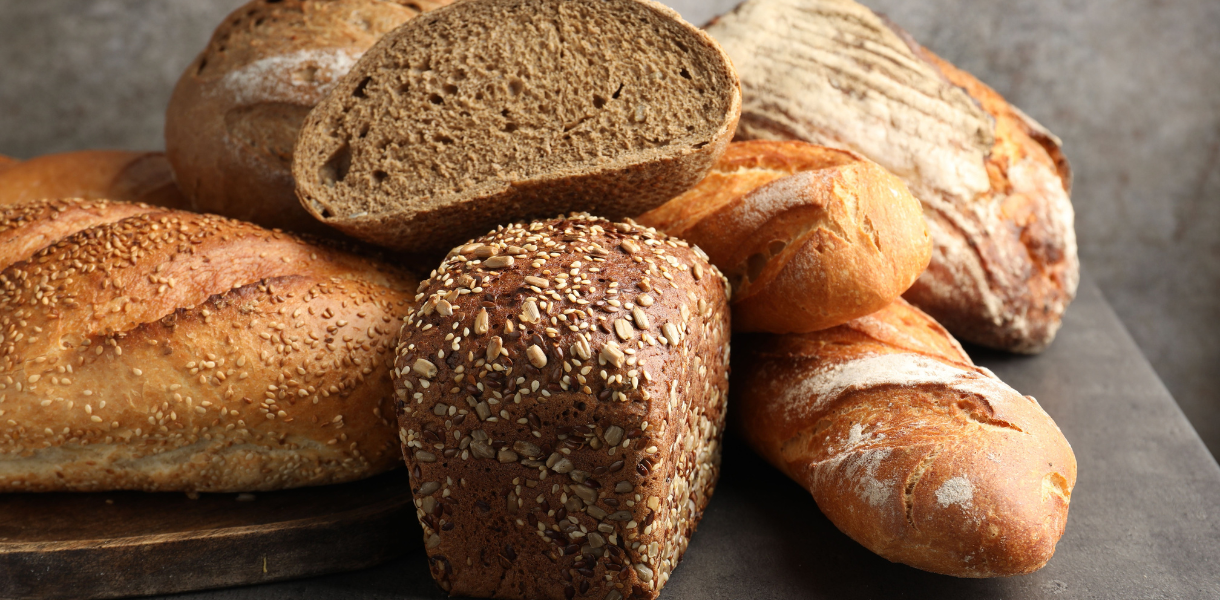
- Baking – Dough transforms into golden, crusty bread.
Easy Bread Styles for Beginners
Common Beginner Mistakes (And How to Avoid Them)
Mistakes happen; they’re part of learning.
Here’s how to avoid the most common ones:
- Over-flouring: Sticky dough often becomes smooth during kneading. Add flour sparingly.
- Under-proofing: Rushing the rise leads to dense bread. Give it time.
- Over-proofing: Too much rise weakens the structure. Watch the dough, not the clock.
- Skipping measurements: Accurate weighing ensures consistency.
- Cutting too soon: Let bread cool fully before slicing to set the crumb.
Simple Tips for Better Bread, Every Time
- Use warm (not hot) water to activate yeast
- Preheat your baking vessel for better oven spring
- Add steam during baking for crusty loaves
- Keep notes so you can repeat successes
- Practise often – bread improves with experience
How to Store Homemade Bread
Without preservatives, homemade bread is best enjoyed fresh:
- Room temperature: 2–3 days in a bread bag or container
- Freezer: Slice, wrap tightly, and freeze for up to 3 months
- Avoid refrigeration: It dries bread out quickly
Your Breadmaking Journey Starts Here
Breadmaking is meant to be enjoyable, not stressful. Start with simple recipes, build your confidence gradually, and remember: even imperfect loaves are still delicious.
With a few quality tools, good ingredients, and a little patience, you’ll soon be baking beautiful bread that fills your home with warmth and irresistible aroma.
When you’re ready to build your breadmaking toolkit, you’ll find everything you need at Chef’s Complements. Discover more inspiration on our Breadmaking board on Pinterest.
Happy baking! 🍞